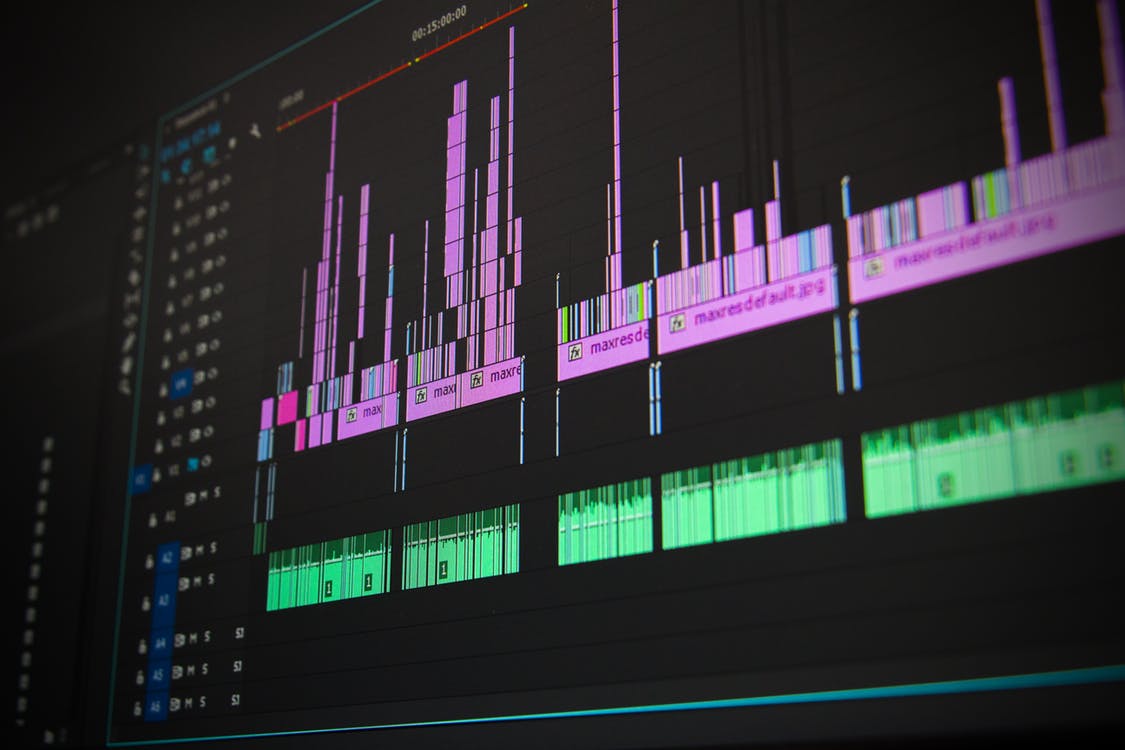
When you are editing a video you have many options in the way you present your video. The length of clips, the order, any effects or music, and the way you transition from one clip to another. At its very core editing is the assembling and transiting between many clips to make a coherent video.
When you are starting out learning to edit you may experiment with different ways to transition from clip to clip, but it is always good to have a base level understanding of basic techniques and terms. Here's a great introduction from YouTuber Pond5:
Remember that the most powerful cut is one that the viewer barely notices. We believe that most of your transitions should be straight cuts and you should avoid using flashy transitions unless it is motivated by the story (like using a dissolve for the passage of time). As you see from this video though, cutting between clips can be a lot more than just dropping a transition on top of two clips and have a big impact on the way the viewer comprehends your video and your story.
Here's a breakdown of some of the types of edits discussed in the video:
A Cut: A cut is when there is no transition between clips and you simply go from the last frame of one clip right to the first frame of the second clip without any sort of transition or fade. This is the most common type of edit and is best used when it is invisible to to the viewer.
Crossfade: This is when the end of one clip fades into the beginning of another clip. This kind of edit is most commonly used to indicate some sort of passage of time.
Fade to Black: This is when one clip fades out, there is a short amount of black on the screen and then the next clip either fades in or cuts in. This kind of edit usually indicates a new act or story point in your video. Whatever was happening before has come to an end and now we are in a new section of the story.
To learn about any of these techniques and how to do them in your editing software, check out our Editing Courses here.


